Visualization server
CÉCI users have the possibility to launch a VNC session in a dedicated server, with hardware acceleration, to run 3D visualisation applications.
Note
This service is only available in Hercules cluster
Start a VNC session
Connect to the cluster, execute the sviz command and answer the questions.
ceciuser@hercules:~$ sviz

Visualization node

    [1] - her2-i002 (default)

Please select a visualization node: 1

Waiting for a slot on a visualization node...

VNC server ready!

Connection information:

    VNC server: XXX.XXX.XXX.XXX:PPPP
    Password:   session_password
...
You will get the connexion information: the IP address XXX.XXX.XXX.XXX, the port number PPPP and the session password.
Connecting to the visualisation node
Connecting from Windows
First install MobaXterm as in indicated in the connexion setup page
Click on the Session icon ![]() , then in the VNC icon
, then in the VNC icon ![]() and select Network settings tab
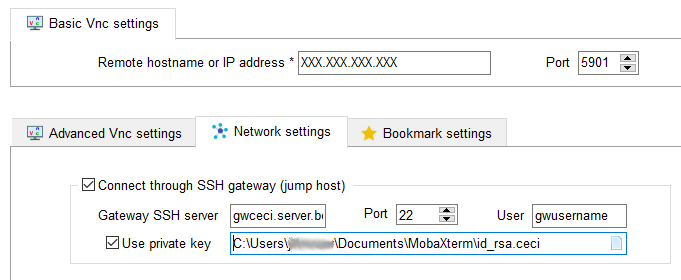
and select Network settings tab ![]()
Set the IP address XXX.XXX.XXX.XXX and the port PPPP you get with
sviz command. Tick the Connect through SSH gateway box and add the
ssh gateway address of your university and in User add the login name to
connect to the gateway.
- UCL:
gwceci.cism.ucl.ac.bewith CÉCI login name- ULB:
gwceci.ulb.ac.bewith CÉCI login name- UMons:
dragon2.umons.ac.bewith CÉCI login name- UNamur:
gwceci.unamur.bewith UNamur eID- ULiège:
gwceci.uliege.bewith CÉCI login name
Tick the Use private key box and click on the icon  to
browse and locate your
to
browse and locate your id_rsa.ceci ssh key file.
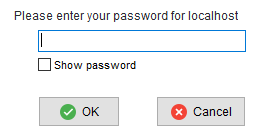
Press the OK button and you should be prompted for your vnc session password.
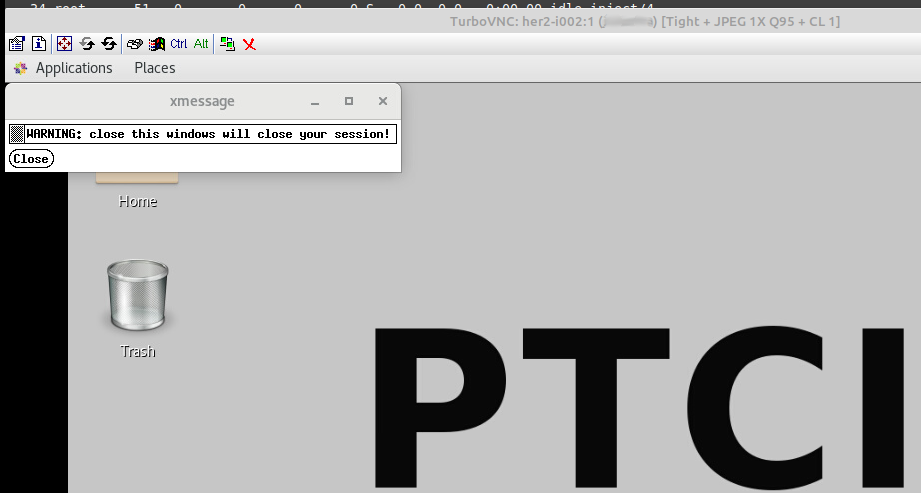
You should now be connected to the vnc session

Connecting from Linux
Download TurboVNC from sourceforge and install last version of the deb package or the rpm package (2.2.5 when writing this doc). If java is not installed in your computer, you will need to install it.
For example:
On Redhat/Centos like use:
# if needed install java
sudo yum install java-1.8.0-openjdk
# then install turbovnc
wget https://netcologne.dl.sourceforge.net/project/turbovnc/2.2.5/turbovnc-2.2.5.x86_64.rpm
sudo yum localinstall ./turbovnc-2.2.5.x86_64.rpm
On Debian/Ubuntu like use:
# if needed, install java
sudo apt-get install default-jre
# then install turbovnc
wget https://netix.dl.sourceforge.net/project/turbovnc/2.2.5/turbovnc_2.2.5_amd64.deb
sudo apt-get install ./turbovnc_2.2.5_amd64.deb
Connect to your VNC session with the command:
/opt/TurboVNC/bin/vncviewer XXX.XXX.XXX.XXX:PPPP -password 'session_password' -via gwusername@gwceci.server.be -SSHKeyFile /home/user/.ssh/id_rsa.ceci
Replace the IP address, the port and the session password you get with
sviz command. Replace gwusername@gwceci.server.be by your login and university gateway
- UCL:
gwceci.cism.ucl.ac.bewith CÉCI login name- ULB:
gwceci.ulb.ac.bewith CÉCI login name- UMons:
dragon2.umons.ac.bewith CÉCI login name- UNamur:
gwceci.unamur.bewith UNamur eID- ULiège:
gwceci.uliege.bewith CÉCI login name
and set the user the path to your ssh CÉCI key.
You will be asked for your ssh CÉCI key passphrase

Then you are connected to your VNC session, you can launch yours visualisation applications.